Dealing with a leftover tree stump after a removal job is a common challenge for homeowners and landscaping professionals alike. At SYS Enterprises, we know that at times, leaving behind even one small stump can lead to unwanted growth, pests, and even damage to your lawn machinery. While others might suggest simply ignoring the eyesore in your garden or field, we believe the best idea is a proactive approach. We take credit for providing the results you need, ensuring the removal process utilizes the right tools, safety gear, and methods to get the job done correctly without harming the surrounding environment.
In this guide, we will walk you through the most effective ways to handle stump removal, from natural decomposition to the use of a high-powered stump grinder. Our team has compiled these instructions to help you choose the best option based on the size of the stump, the type of species, and your available equipment.
Proper Preparation and Safety Protocols
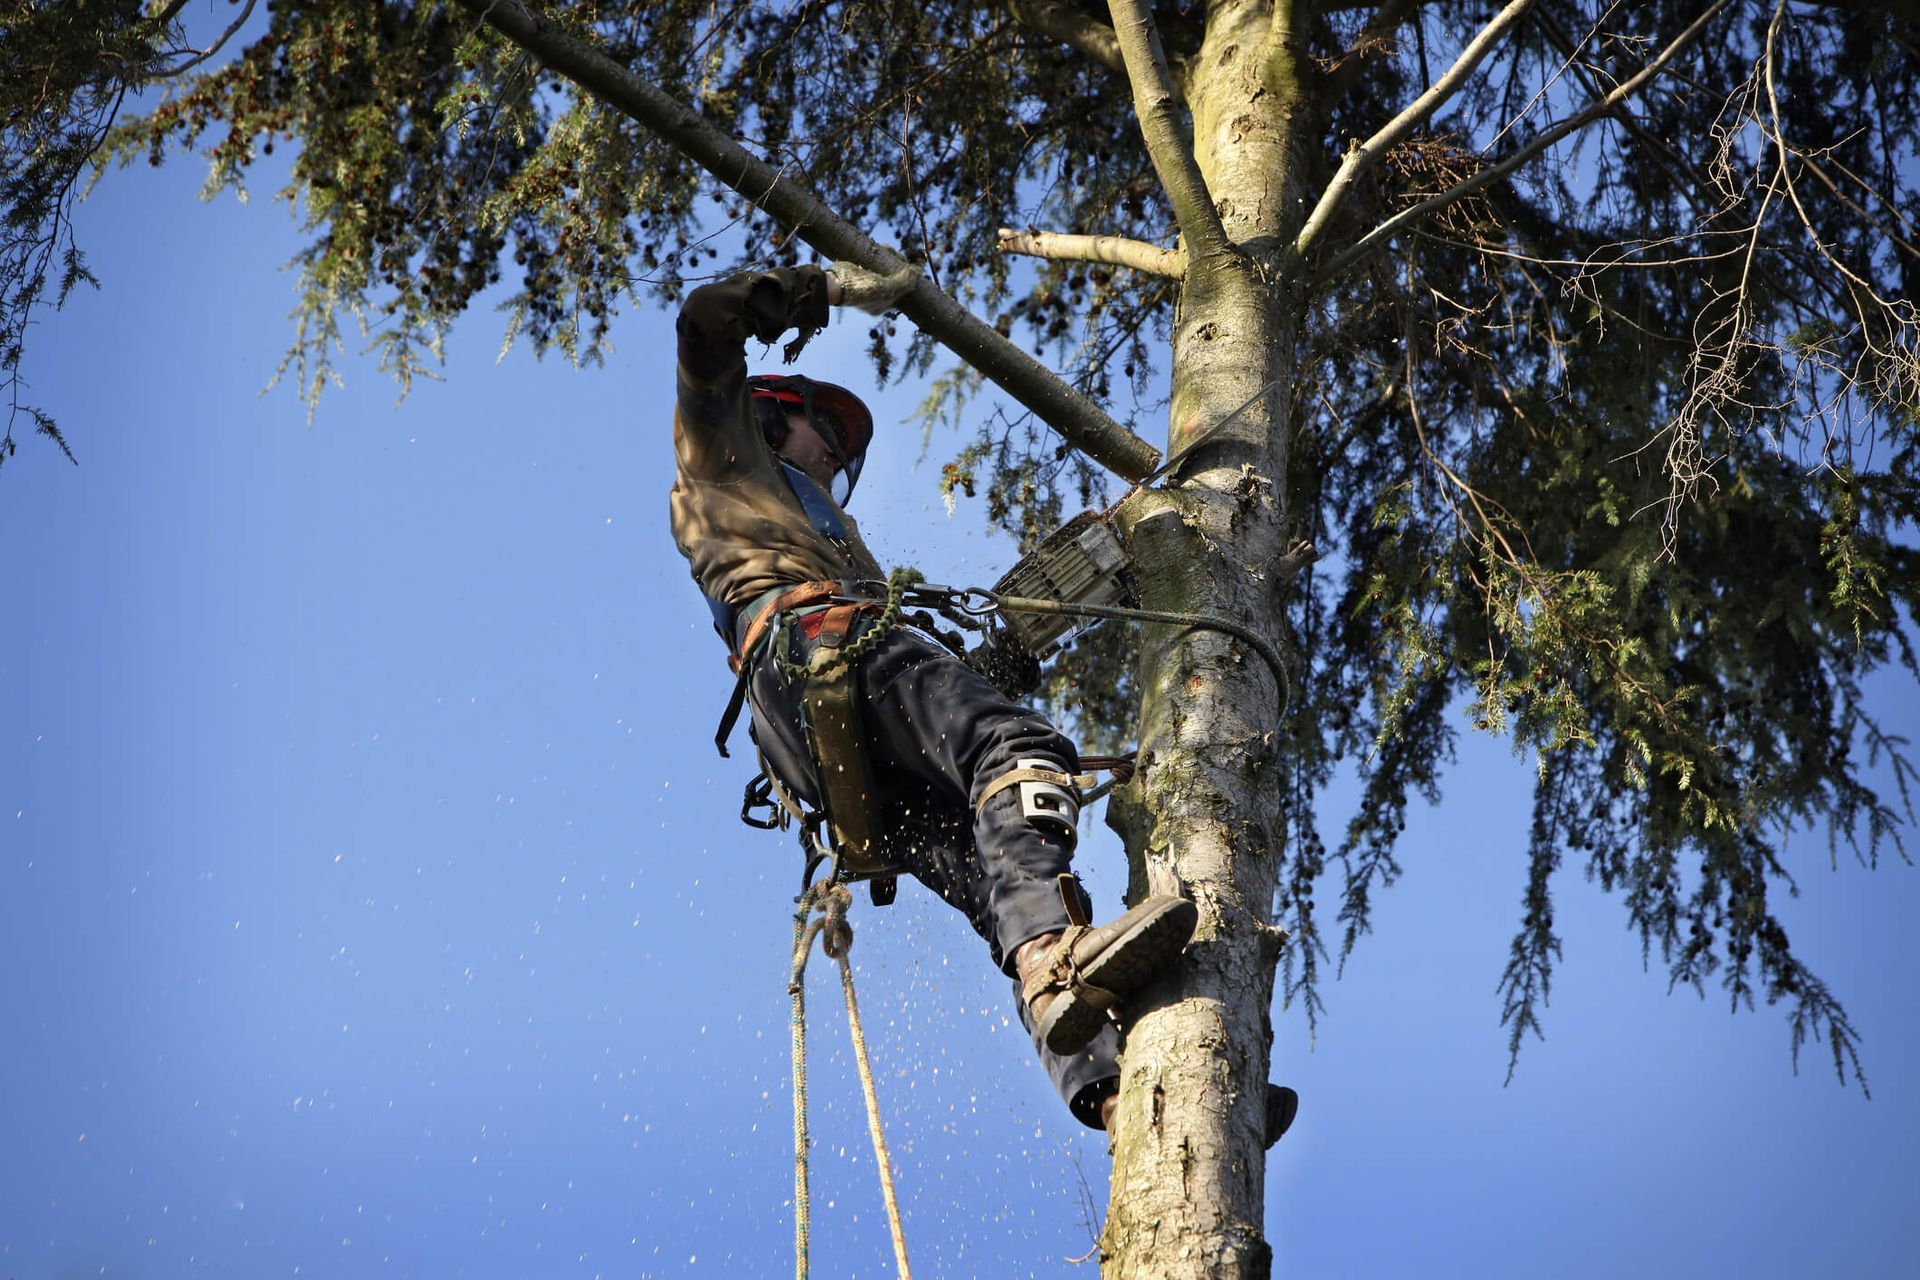
Before we begin any stump removal method, safety must be the top priority. Handling chemicals, heavy machinery, or even a sharp ax carries inherent risks that require constant care. We recommend wearing appropriate clothing, including sturdy gloves and eye protection, to shield yourself from flying wood chips or accidental chemical splashes. While searching for a getty images page for a visual guide might seem like a good idea, nothing replaces hands-on caution.
When using a chainsaw or grinder, ensure there are no rocks, metal objects, or debris near the stump that could cause kickback or damage your tools. Clear the surrounding area to ensure no vehicle or bystander is on the side of the work zone. It is also vital to check local laws and regulations regarding the use of certain herbicides, burning techniques, or even the application of table salt in your area. Always keep a fire extinguisher nearby if your chosen method involves high temperatures or kerosene.
Essential Safety Gear and Equipment List
To perform this work successfully, we recommend gathering the following gear:
- Safety Gear: Heavy-duty gloves, eye protection, and ear protection for loud machinery.
- Cutting Tools: A sharp chainsaw, loppers for smaller branches, and an ax.
- Digging Tools: A sturdy shovel, a mattock for prying, and a hand trowel for detail work.
- Chemical Supplies: Potassium nitrate, epsom salt (magnesium sulfate), or a specialized chemical stump remover.
- Power Tools: A heavy-duty drill with a long drill bit.
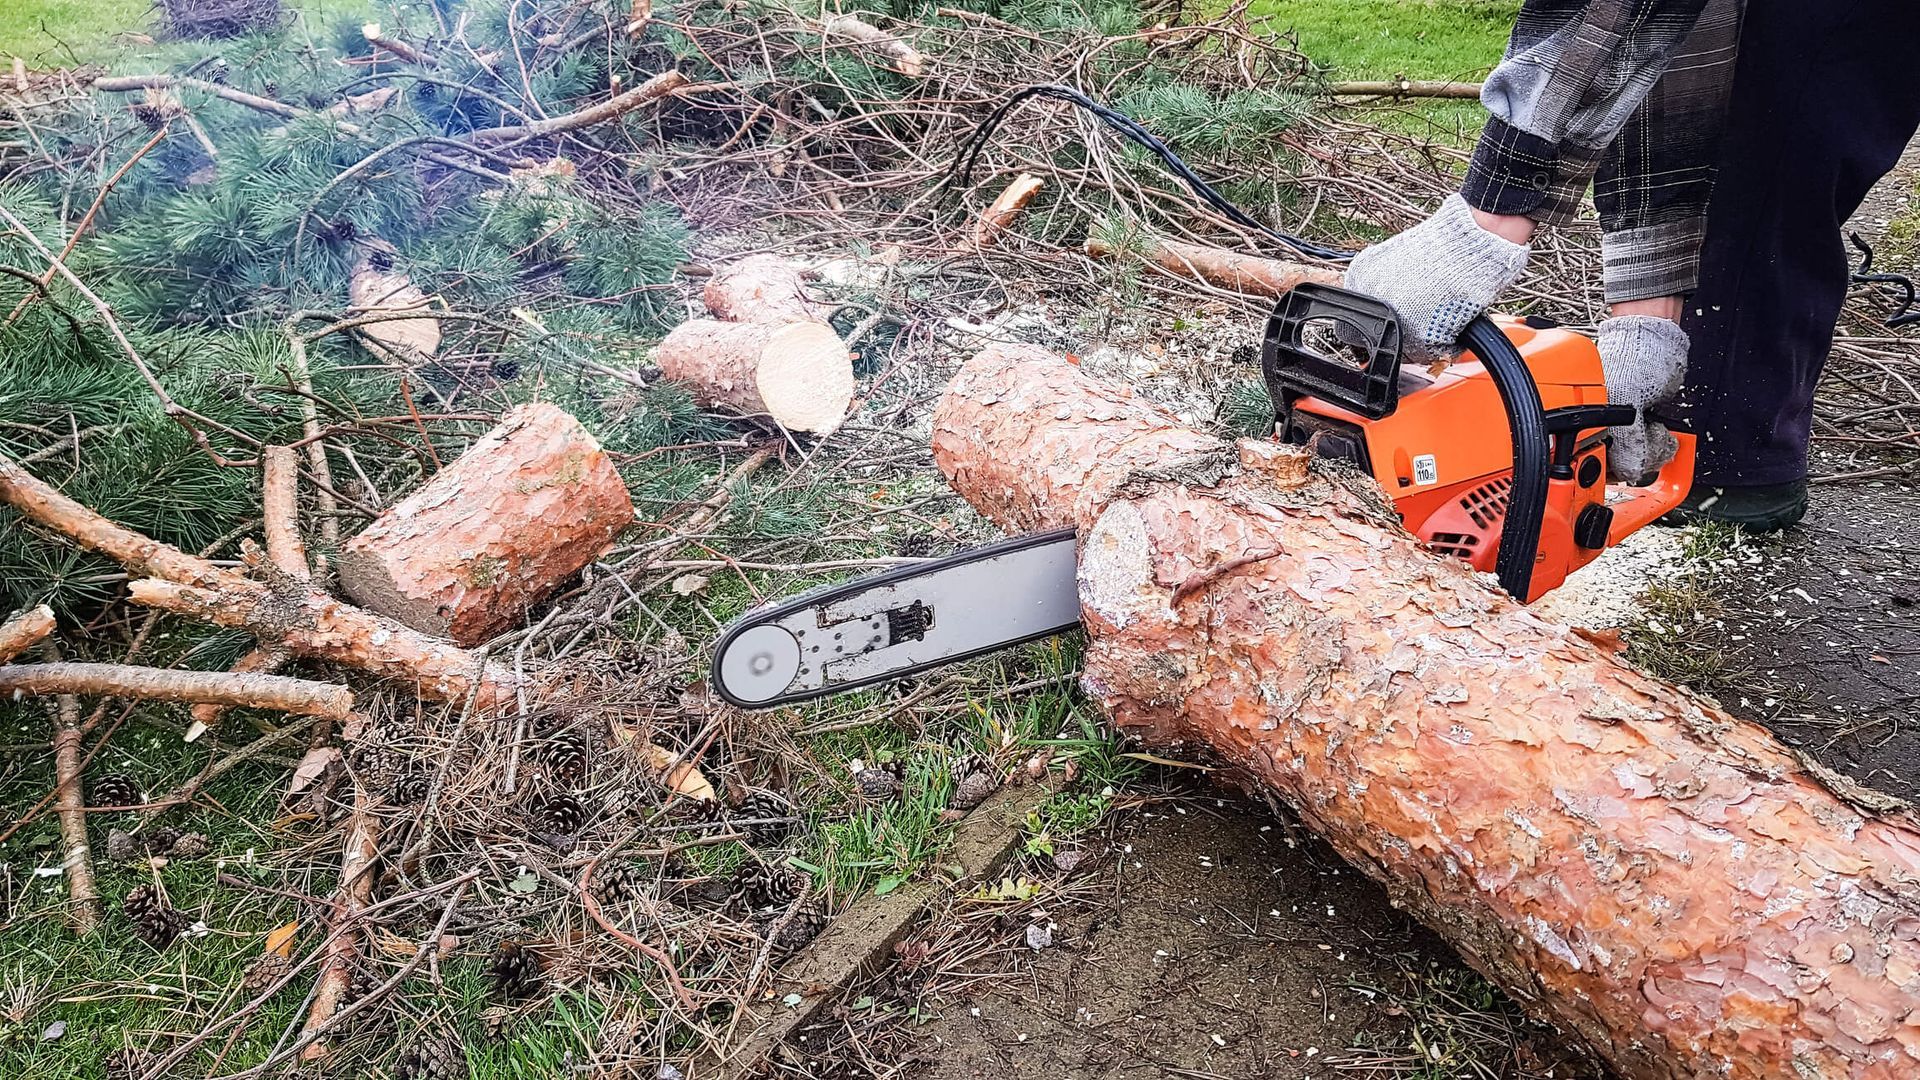
Mechanical Stump Grinding for Immediate Results
For those who want the stump gone today, stump grinding is the most efficient approach. This method involves using a heavy machine called a stump grinder to chew the wood into small pieces.
The Grinding Process Explained
We start by using a chainsaw to cut the top of the stump as close to ground level as possible. This reduces the amount of wood the machine has to process and prevents unnecessary wear on the grinder.
- Operating the Grinder: The grinder is positioned over the wood, and the rotating blade sweeps across the surface, turning the tree stump into mulch.
- Root System Management: While grinders primarily focus on the main stump, they can also be used to follow the primary roots extending into the yard. We often find that grinding 6 to 10 inches below the dirt level is sufficient for most landscaping needs.
- Debris Management: The process creates a large pile of wood chips. These can be used as mulch in other areas of your landscape or added to a compost pile.
While the cost to rent this machinery is higher than other options, the results are instant. Once the grinding is complete, we recommend filling the hole with a mix of dirt and soil to prevent a trip hazard for people or pets.
Chemical Decomposition Techniques to Accelerate Decay
If you aren't in a rush, a chemical stump remover can significantly speed up the natural rot process. This method relies on increasing the rate of decomposition within the wood fibers by providing the nitrogen that fungi need to thrive.
The Drill and Fill Method
We find that the best way to apply herbicides or chemicals is by creating deep holes in the stump.
- Step 1: Use a high-powered drill and a large drill bit to drill holes about 12 inches deep into the top and sides of the wood. Space these drill holes about 3 to 4 inches apart.
- Step 2: Once the holes are ready, fill them with products like potassium nitrate or triclopyr.
- Step 3: Add a small amount of water to each hole to help the solution soak deep into the root system.
- Step 4: Cover the stump with a tarp and secure it with rocks or stakes. This keeps the wood moist, which is essential for the decomposition bacteria and fungi to do their job.
Using Epsom Salt or Rock Salt
For a more natural approach, some people prefer using epsom salt or rock salt. While these are common household items, they work by pulling moisture out of the stump, effectively killing the tree remnants.
- Fill the drilled holes with the salt.
- Apply a layer of wax or a tarp over the top to prevent rain from washing the salt away into the surrounding grass or plants.
- Wait several months. You will notice the wood becoming brittle and starting to decay. Once it reaches a certain level of rot, you can easily break it apart with a mattock or ax.
Manual Removal for Small Stumps and Root Systems
For smaller stumps, old-fashioned manual labor is often the most cost-effective way, provided you follow key tree stump removal safety tips. This job requires a shovel, a mattock, and a set of loppers to get the work done right.
Step-by-Step Manual Extraction
We begin by digging around the base of the tree to expose the roots.
- Clear the Area: Remove all grass, weeds, and debris from the soil around the stump.
- Expose the Roots: Use the shovel to dig deep enough to see the major root system.
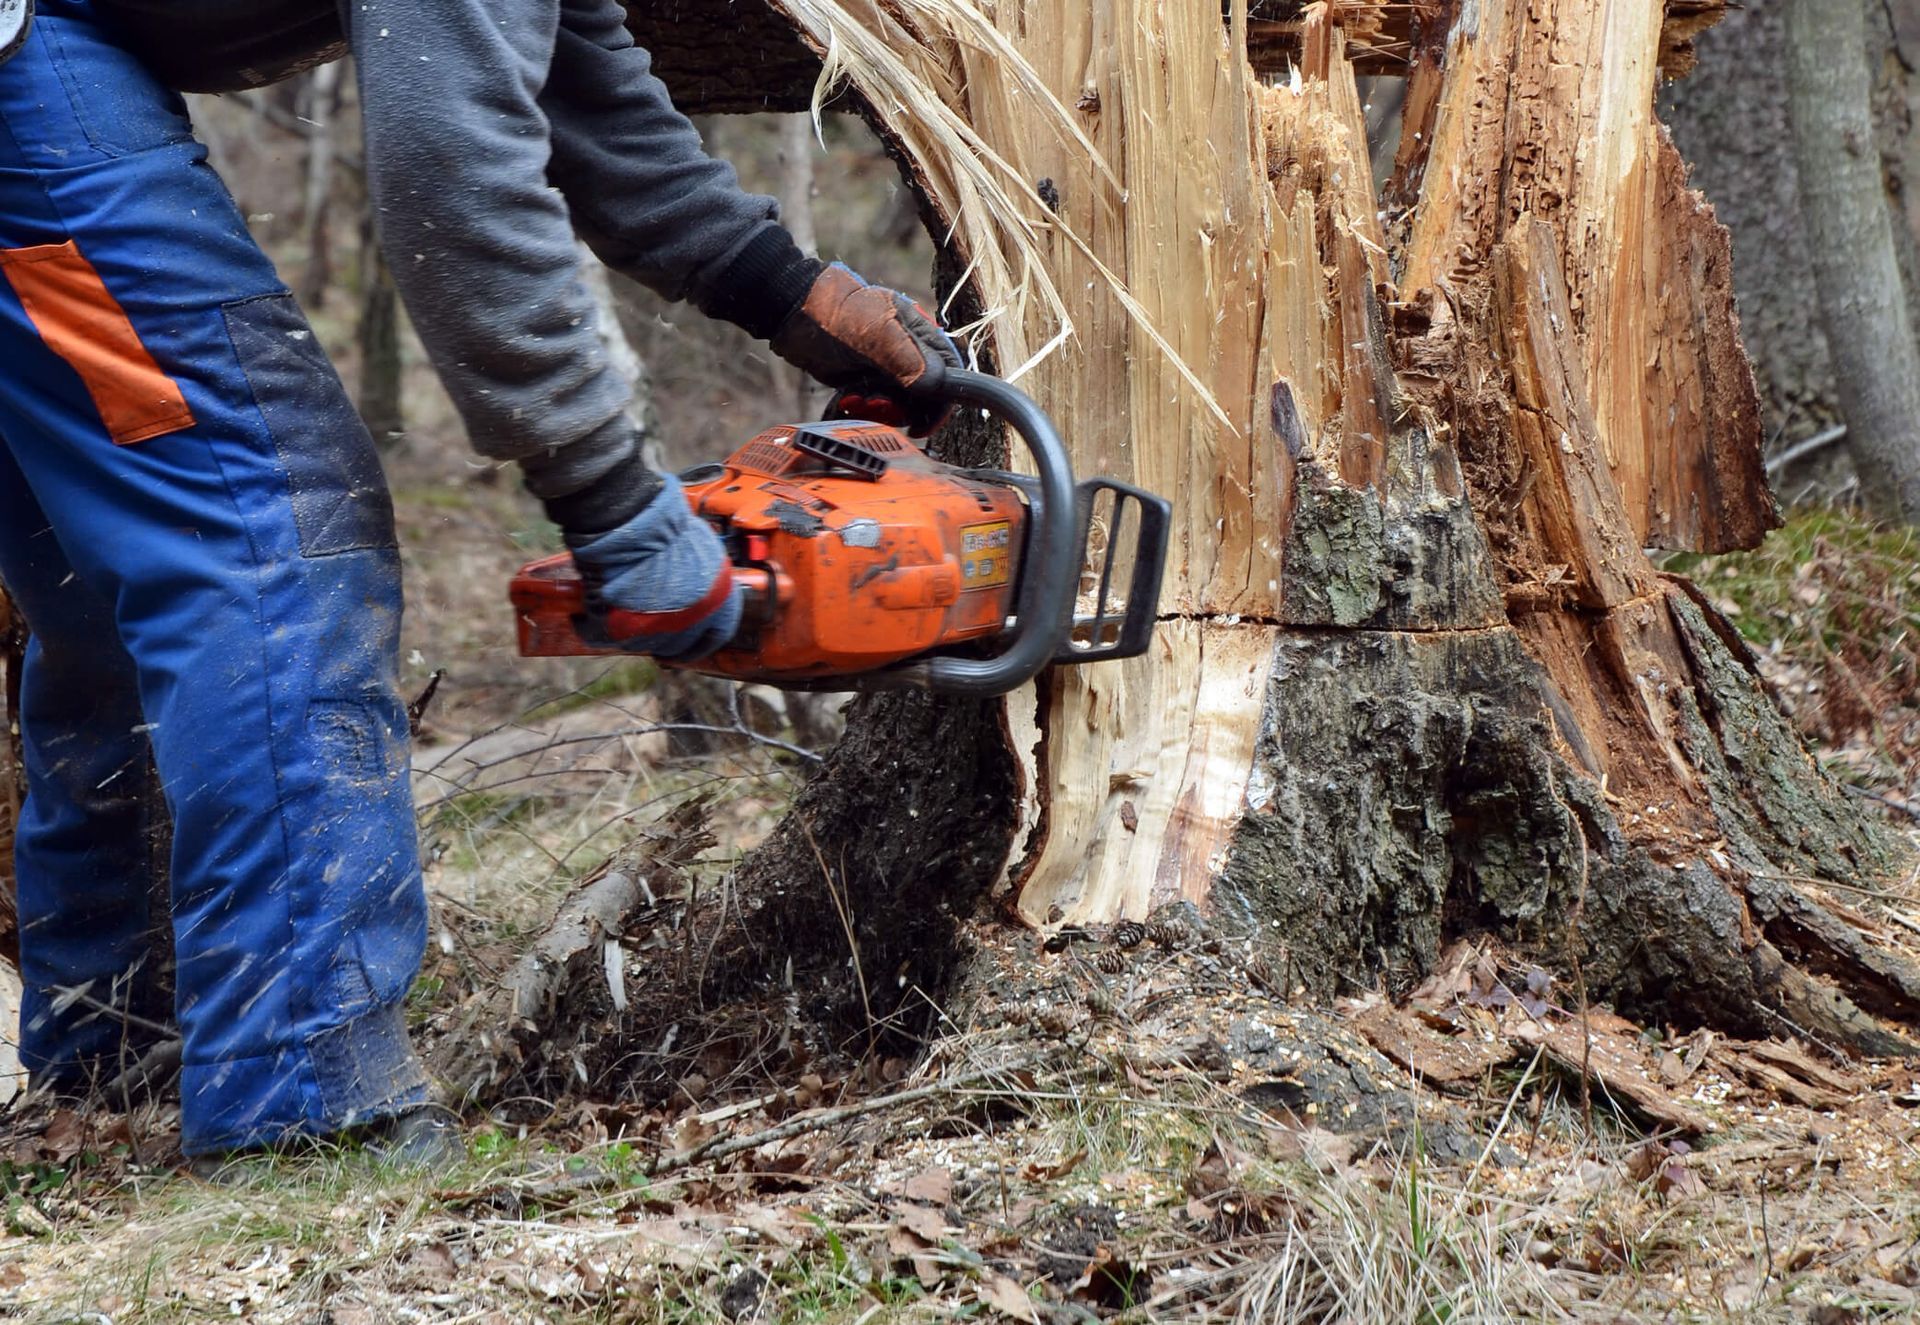
- Cut the Connections: Using an ax, a saw, or loppers, we cut the larger roots to free the stump from the ground.
- Leverage: Use a long rope or a pry bar to pull the stump out of the hole.
The process of stump grinding and removal services takes significant effort; however, it ensures the complete removal of the root system to prevent future shoots, suckers, or sprouts from disrupting your landscape.
Accelerated Burning Methods for Dry Wood
In rural areas where it is permitted, burning a stump is a viable option. This should never be done near a house, shrubs, or vegetation that could easily catch fire.
Safe Burning Techniques
To start the burn, drill holes into the stump and pour in a material like kerosene (never use gasoline, as it is too volatile). Allow the liquid to soak into the wood for several days.
- Safety First: After confirming there are no pests, pets, or dry leaves nearby, ignite the stump.
- Containment: We use a metal ring or stakes to contain the fire and ensure it stays focused on the wood.
- Monitoring: Always monitor the burn until it is completely out. Have a water source and a fire extinguisher ready for safety.
- Finishing: Once the fire has consumed the wood, you will be left with an ash-filled hole. Clear the ash and fill the space with fresh dirt.
Preventing Regrowth and Controlling Suckers
Even after the top of the tree is gone, the roots can remain alive for years. This often leads to the growth of suckers or shoots that look like small trees popping up in your lawn.
Strategic Herbicide Use
To stop this growth, we apply a targeted herbicide containing triclopyr.
- Fresh Cuts: The chemical works best when applied to a freshly cut surface.
- Absorption: This ensures the chemical travels down to the roots rather than just sitting on the surface of the dead wood.
- Cautions: Use bleach or other harsh chemicals with extreme caution, as they can damage the soil pH and kill neighboring plants.
If you prefer not to use chemicals, keeping the area covered with a heavy, dark tarp to block all sunlight and light will eventually starve the plant of energy, leading to total removal over time.
Post-Removal Landscape Restoration
Once the stump is gone and the wood chips are cleared, the landscape will have a hole that needs attention. We suggest using the leftover mulch as compost or organic material for other parts of the garden, provided no toxic herbicides were used.
Reclaiming Your Yard
- Fill the Void: Fill the area with high-quality soil. Do not use pure sand or rocks, as you want the area to support future plant life.
- Compaction: Compact the dirt slightly by tamping it down with your hand or feet to prevent settling after the first rain.
- Seeding: Spread grass seed that matches the rest of your lawn.
- Planting: Alternatively, this is a great place to start planting new flowers or small shrubs to integrate the space back into your landscape design.